
Following up on the last post of painting the studio floor, this short video will take you on a tour of the studio put back together. Below that you will find some before and after photos that show the transformation.
The Makeover Story
Taking out the carpet and painting the subfloor was something we wanted to do since we moved into the house a year and a half ago. I honestly didn’t think we would do it now because we were going on a trip for our grandson’s graduation and then I was meeting my cousin and friend across the country. BUT on our way to visit a friend and relative in the hospital across town, we stopped by a furniture store and found this cabinet that was just the right size and funky enough to add the element of surprise in my studio.
When we came home that evening, my husband Keith suggested (with a large craft knife in hand) that we take up the carpet. With our trip just a few days away, I thought it would be more prudent to wait…. but decided to join in the crazy adventure. The temporary disruption and physical labor of taking everything out of the studio was a lot to tackle, especially before traveling. I wouldn’t necessarily advise it, but it did motivate us to get it done quickly before the cabinet arrived.
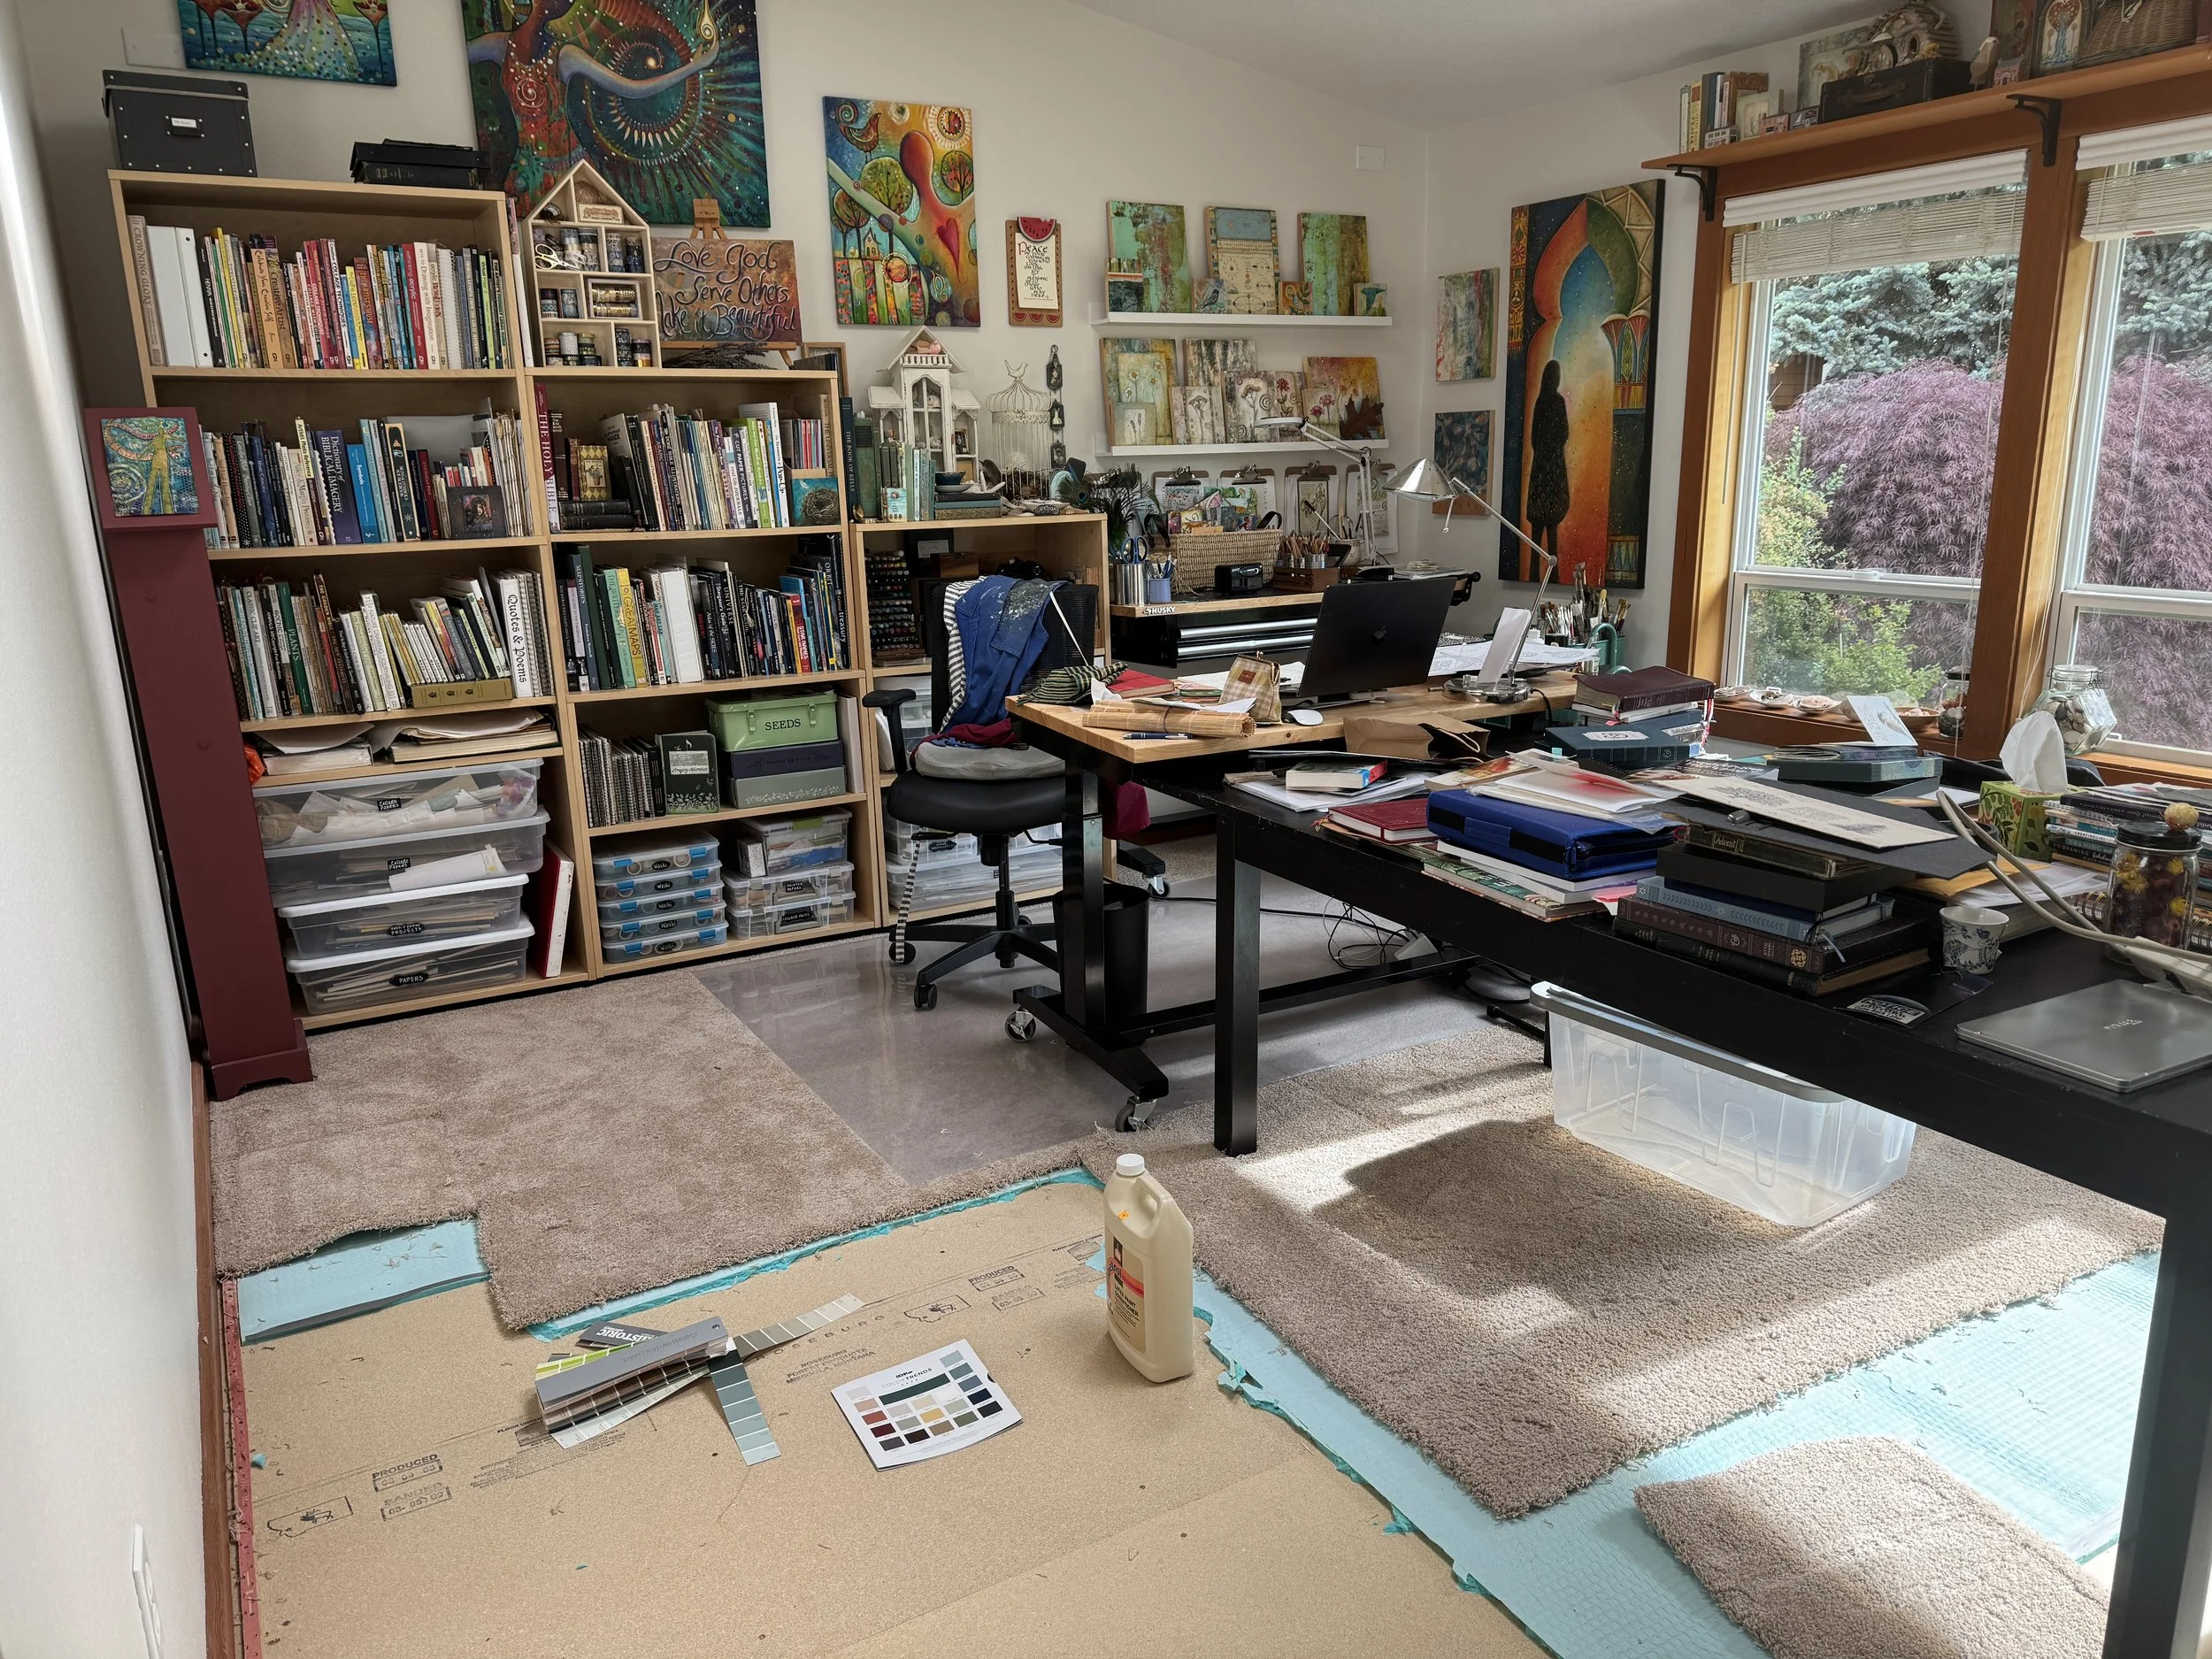
Everything had to be moved out to take out the carpet. Some was put in the dining room as shown and the rest in the garage.

There was a disappointing setback. We didn’t get the cabinet in the studio before our traveling, which was why we were rushing to get the floor done.
After purchasing the cabinet, I went with the company’s recommended delivery service. It seemed spendy, but we figured it was worth it to have it done right. Wrong. The delivery men didn’t seem to know or care how they delivered the furniture. They said, ‘It’s so easy,’ then carelessly broke the middle cabinet shelf before it even reached the door to go inside. I won’t go into more detail about the negative experience, but I will never use TooBigForMyCar again and don’t recommend others do either. They finally reimbursed me for the payment, so I am grateful about that. The company the cabinet came from fixed the cabinet but delivery fell to Keith, who rented a truck and some friends helped move it into the studio. It all ended up well and I am thankful, but struggle with discouragement sometimes. This was a good opportunity for me to keep the end goal in mind and move forward.
Here is the before and after photos of the cabinet wall.
Studio Cabinet Wall - Before & After the Makeover Results
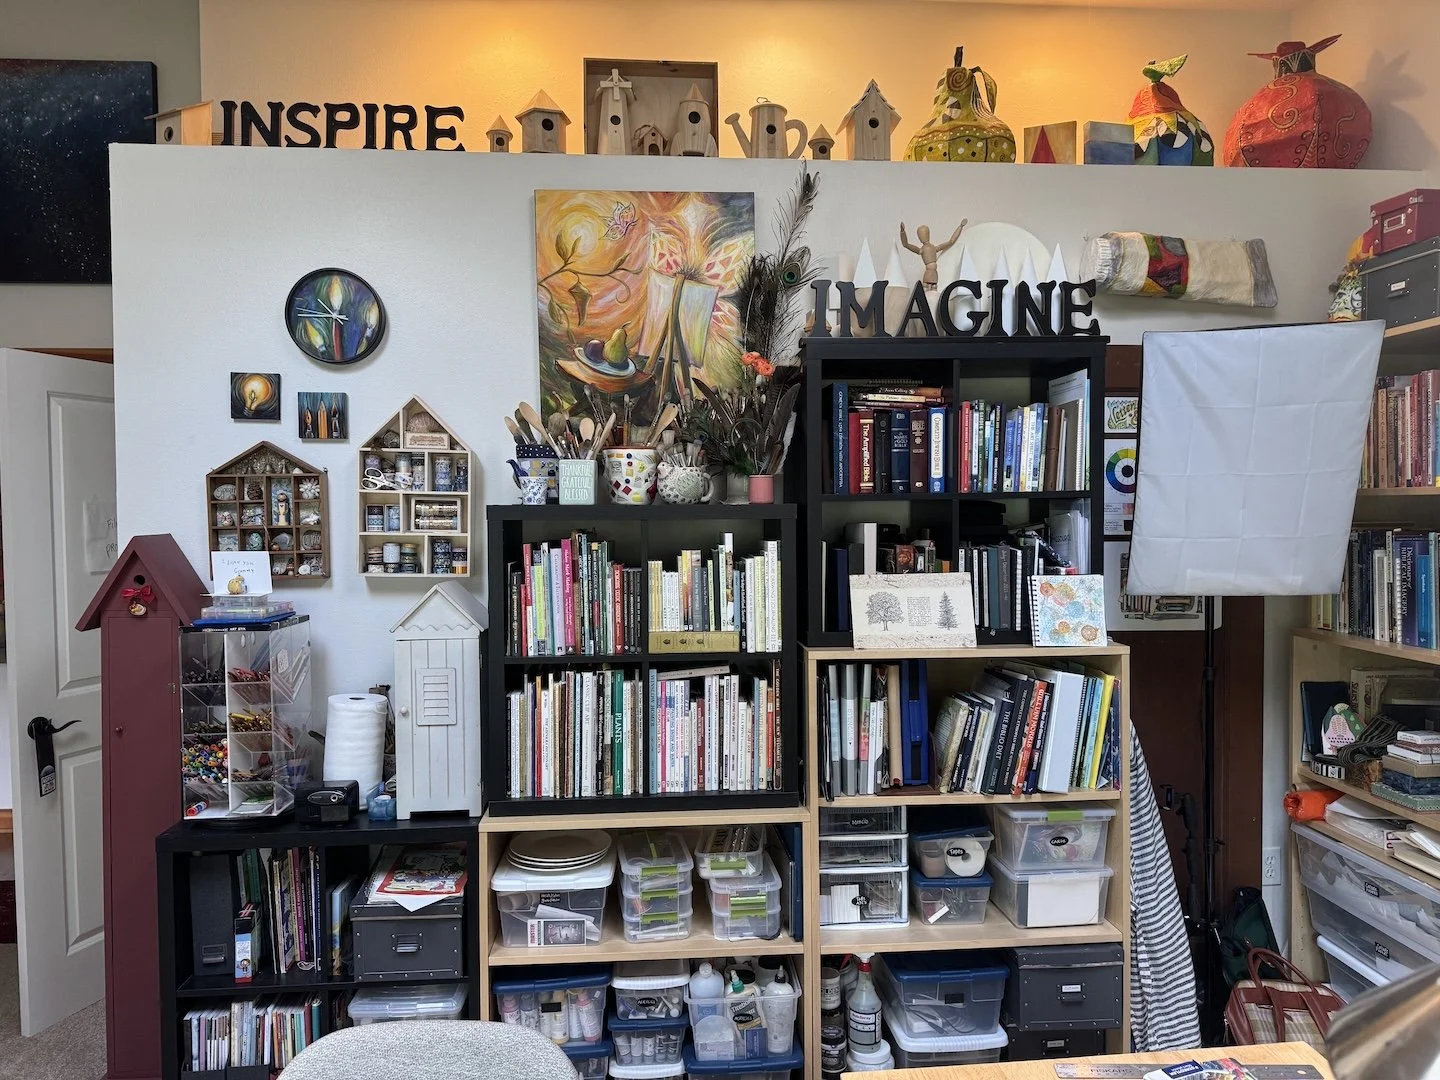
BEFORE THE MAKEOVER

AFTER THE MAKEOVER
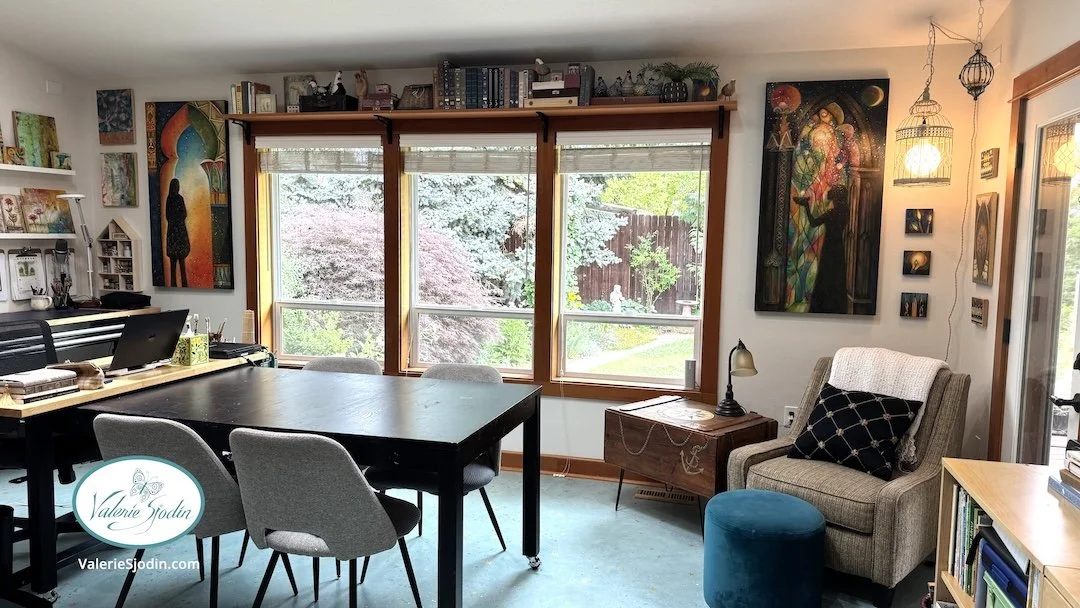
Features added to the ‘New’ Studio

A cozy corner and chair now used every day

Light made with an old bird cage, and a lamp kit and decorative light bulb

Roller feet were put on an old ikea dining table
Makeover Result Photos
Here are the four walls of the studio, beginning with the one to the right of the entry from the hallway


Getting the studio to this point feels like a task completed and a journey just beginning. There is still more to do. Isn’t there always? Our son-in-law is building a cabinet in the laundry room that will be my studio closet, and I’m still sorting through some things in the garage, but it helps to see progress and have a vision for the future.
Blessings of Inspiration to You!
Valerie
If you didn’t see the painting of the studio floor, here is the link: https://www.valeriesjodin.com/blog/painting-studio-floor
Hanging Lamp cord and lightbulb Amazon links:
Affiliates & Royalties
Amazon: Sometimes I post links to Amazon products on my site. I receive a small commission if you click on the product and purchase it. I only recommend products I use, am happy with. It costs you nothing, but does help me cover some of my costs to host the site etc.
Archer & Olive: I am an Archer & Olive affiliate Here is the code to put on the end of any Archer & Olive URL:
?aff+816, as in: https://www.archerandolive.com?aff=816. Receive a discount of 10% on purchases when you use the code Valerie10. You get the savings and I receive a commission to help cover my online and tech costs.
StencilGirl Products: I receive royalties from stencils I’ve designed from StencilGirl Products. I hope you enjoy creating with them.